Product photography tips
Engaging and exciting images that show off your products really are key to attracting customers to your online shop. A great image can help a customer fall in love with your products and even help them make that all-important purchase too!
Photographing and styling your beautiful products doesn't have to be difficult, you can take great shots just with a smartphone, a nice sunny day, and a few pieces of coloured paper. The only tricky part may be getting a little bit of sunshine!
You can also follow the easy top tips below and get started on creating beautiful and engaging product shots of your very own!
1. Planning your shoot
Before reaching for your phone and products think about how you want your image to look. Have you seen any images lately that have really grabbed your attention? If you are stuck for ideas Pinterest is a great source to search for product photography and styling ideas.
Once you have your idea, gather together everything you need. If you are shooting more than one product it’s a good idea to write down a list of everything you are planning to photograph and tick them off as you go.
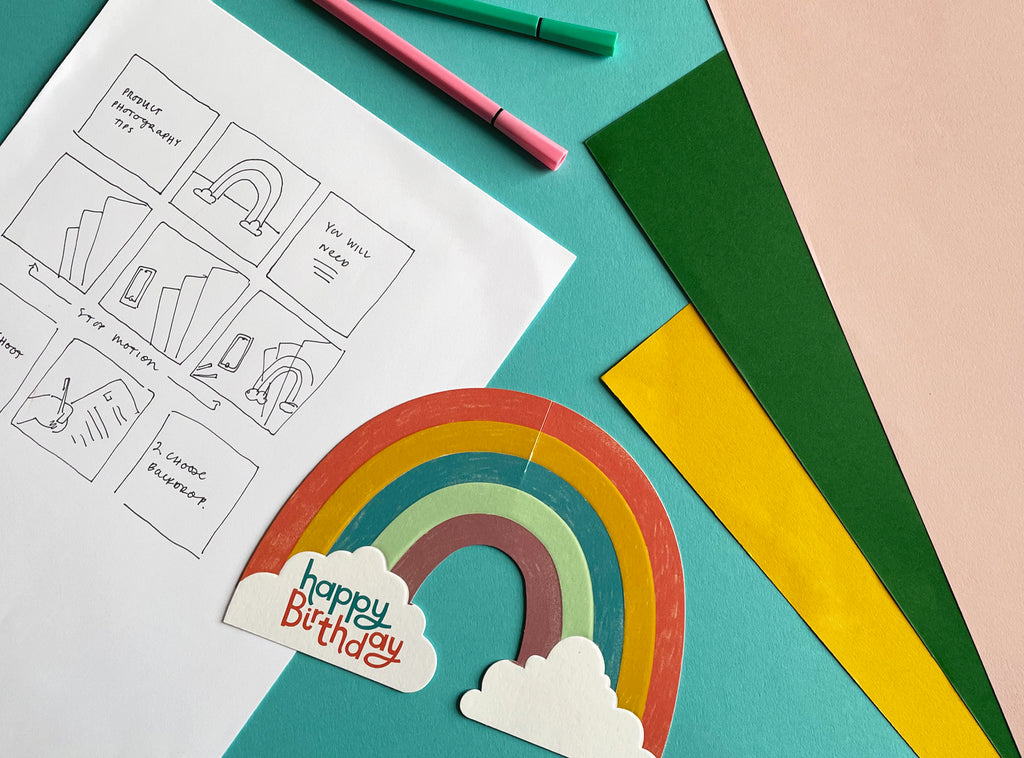
2. Choose your backdrop
At Raspberry Blossom, we love a simple coloured background to make our cards pop
The colours we use always tie in with the palette we use in our card designs. A simple piece of coloured paper can make all the impact.
I like to use contrasting colours to really make the cards shine and make them the focus of the image. If you’re not sure which colours to use, refer back to your research when planning your shoot. What were you most drawn to in the images you found? what colours work best for your business? and most of all what helps make your product stand out?

3. Light
Natural light is always best for photography.
If like us, you are based in the UK and the sun isn’t always guaranteed, no need to panic. You can up the brightness using your photo app on your smartphone, or there are many other photo editing apps to try out too, most of them are free to use or have a free trial period. Try a few out and see what works best for you.
If it’s an incredibly grey day, or you need the light to be consistent you can use a lightbox.
Ours is an ESDDI LED shooting tent kit. You can adjust the light settings, it has velcro attachments to change backdrop colours and even neatly folds away once you are finished using it.
4. Styling
You’ve got your backdrop sorted, the lighting is perfect, now it’s time to style your product.
When styling it’s really important to think about what you want to say about your product. For example, when shooting our 3D ‘Treasures’ cards we like to show how the card will arrive to the customer in the wallet, a close up of the cards details, and also a shot of the card in 3D.
Showing all of these steps really helps the customer understand your product and they really know what they will be receiving once they've made a purchase. Using video is also a great idea if you want to show your product in use or from different angles.
As always make sure to show off any features your product has, and any additional props you may choose to add to the shot shouldn’t detract attention, your product should always be the focus.
5. Photographing
Many smartphones have brilliant cameras so they will do most of the work for us.
When taking your photo tap on the product on the screen to help keep it in focus and get nice crisp images.
A stand can really help steady the camera, again keeping it in focus and helping your product shine. I mostly use a stand for overhead shots and flat lays or when I’m using video.
Our stand simply clamps onto a table and from there you can adjust the height and angle to suit your shot, a really handy tool to use! You can get small tripod stands that are great too. If you don’t have that to hand you can easily improvise using household items to help keep your camera steady. Placing your phone into a mug or even a tin of beans to lean your phone against works great too!
Make sure your products are central to the image for the most impact, on most phones you have an option to view a grid whilst shooting to ensure that everything is centralised and straight.

We really hope you have found these tips helpful.
Keep safe, well, and have the best possible week.
Rebecca x
Leave a comment